3D Printing: OpenSCAD Variables
7 June 2013
In the previous resource we created a small castle using basic techniques and fixed values. In this resource we are going to rework the script so the fixed values are managed by variables and allowing our model to be customised. The castle model is the same. The script will be a little different.
Resources
OpenSCAD: http://www.openscad.org/
Files: Castle with variables (.scad)
License: Creative Commons
Variables
A variable in OpenSCAD is simply represented as a name and an expression of some sort. At its simplest they look like this:
wall_length = 25;
wall_length: this is the name of the variable we will use throughout the script.25: this is the value we want to set whenever wall_length is used.
We are going to use two types of expressions in this tutorial:A set value: wall_height = 8;A calculated value: tower_height = wall_height + wall_height/3;
The original script
The original script for the castle contained fixed values that set heights, widths, radii of cylinders and values for translations. None of these values are related to another so changing the height of the walls means changing the height of the tower and door as well.
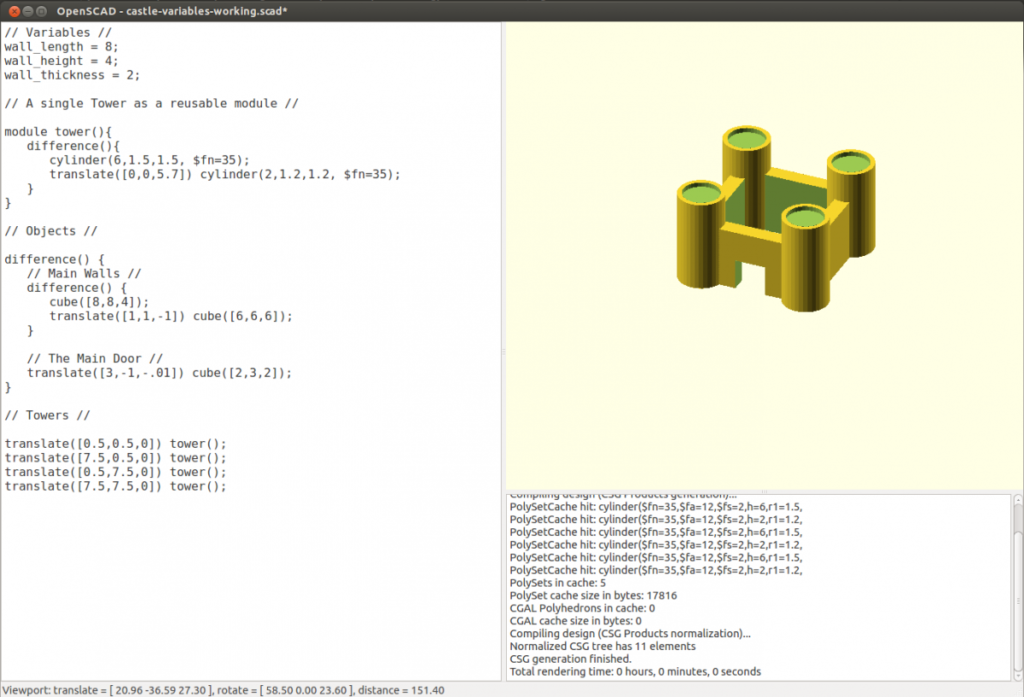
// A single Tower as a reusable module //module tower(){ difference(){ cylinder(6,1.5,1.5, $fn=35); translate([0,0,5.7]) cylinder(2,1.2,1.2, $fn=35); }}
difference() {// Main Walls //difference() { cube([8,8,4]); translate([1,1,-1]) cube([6,6,6]);}
// The Main Door //translate([3,-1,-.01]) cube([2,3,2]);}
// Towers //translate([0.5,0.5,0]) tower();translate([7.5,0.5,0]) tower();translate([0.5,7.5,0]) tower();translate([7.5,7.5,0]) tower();
Main walls
We are going to set fixed values for the length, height and thickness of the walls and then use these values to define all other dimensions in the model. That means 3 values will control the entire model and can be changed to quickly customise the castle.Set the variables first by adding the following to the top of the script:
// Variables //wall_length = 25;wall_height = 8;wall_thickness = 5;If you compile this script (F5) there will be no obvious change. Like modules the variables do not render until used in rendered objects.
Using the variables
We are going to use these variables in the Main Walls objects so will be changing the fixed values for the variable names.Change the existing Main Walls script from this:
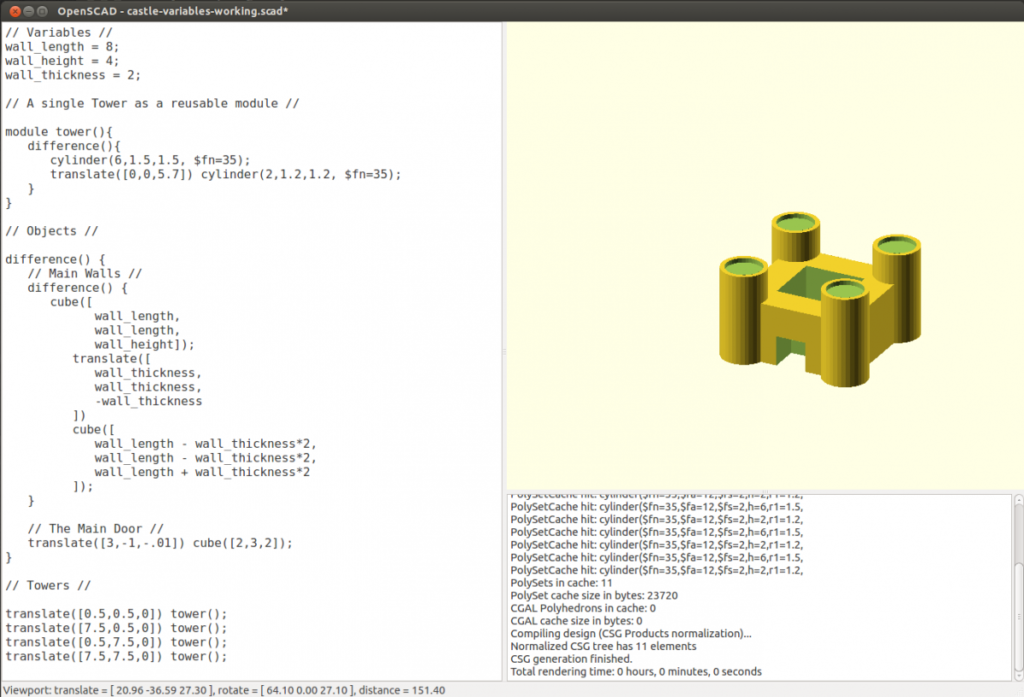
cube([8,8,4]);translate([1,1,-1]) cube([6,6,6]);to this:cube([ wall_length, wall_length, wall_height]);translate([ wall_thickness, wall_thickness, -wall_thickness])cube([ wall_length – wall_thickness*2, wall_length – wall_thickness*2, wall_length + wall_thickness*2]);
Notes: Variable names can be quite long so leaving them on one line can make things difficult to read. In the example above I have moved each value to its own line. As long as the brackets and commas are all still in the right order the script will compile but it is much easier to read.
The first cube is simple. We have simply replaced the fixed values with the respective variable name. X and Y dimensions are now wall_length, and the Z direction (i.e. Up) is now wall_height.
The second cube has some calculations going on in its translation and dimensions because it needs to be sized and positioned to make a suitable hole in the first cube.
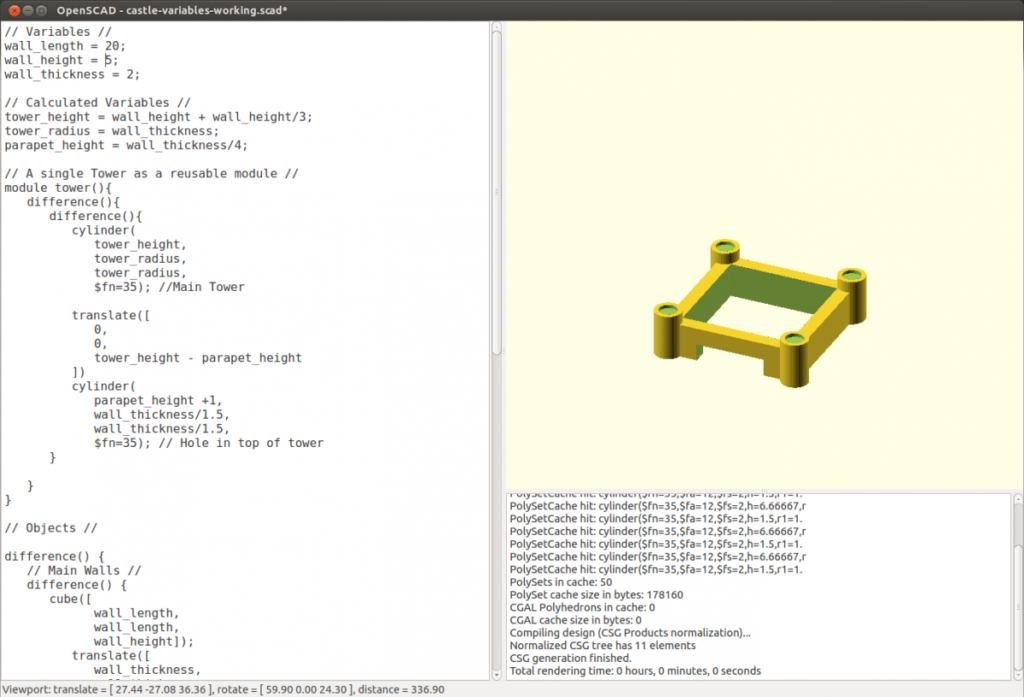
The translate sets the X and Y values to the wall_thickness to move the cube 5 in both directions. This effectively centres the cube on the first cube. The Z value uses the wall_thickess as well but sets it in a negative direction (i.e. Down) so that the cube will sit slightly lower than the first and cut a clean hole. The cube dimensions for the X and Y multiply the wall_thickness by 2 to allow for walls on both sides and subtracts that value from the wall_length. This makes the second cube smaller than the first by twice the wall_thickness. In the current example the walls are now quite thick compared to the width and height and look like this:
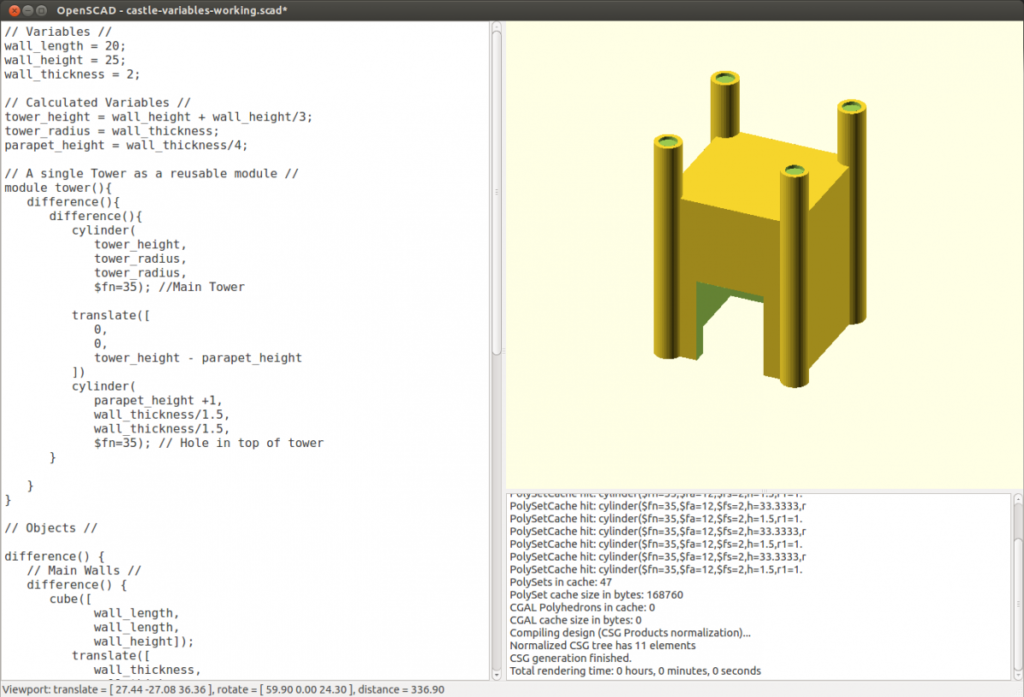
Try changing the variables at the top of the script and see what happens. I set them to:
wall_length = 16;wall_height = 6;wall_thickness = 2;and get this:
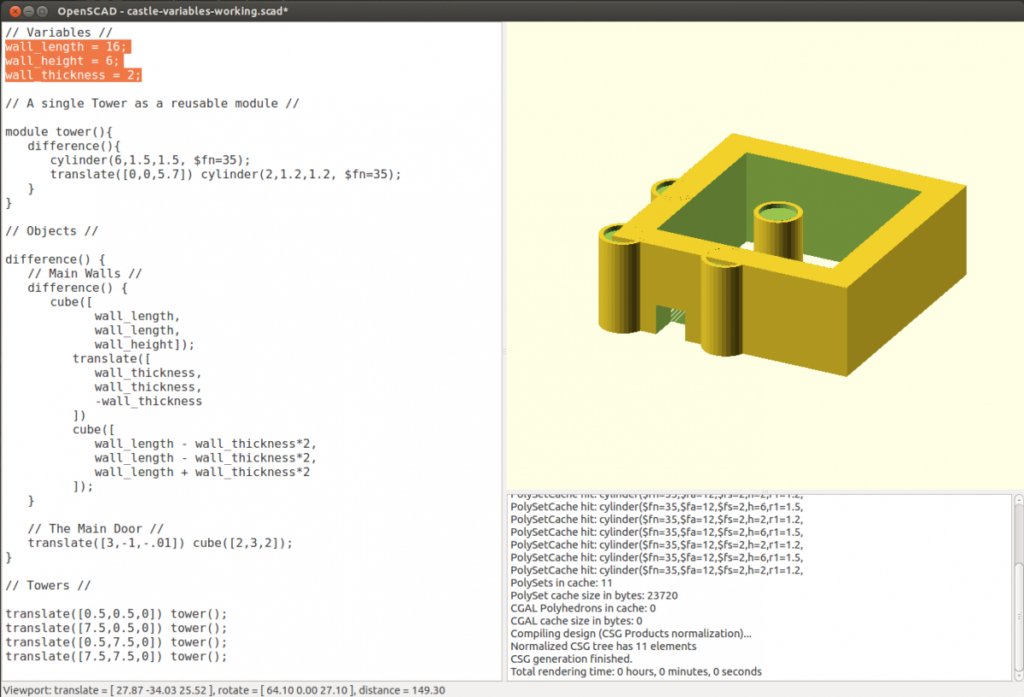
The walls look fine but the towers and door are not related in any way. A few more variable settings will sort that out.
The Towers
The towers are all created from a single module so we can make most of the change there. We will add some variables specific to the towers but calculate them based on the wall values. Under the wall variables at the top of the script add the following:
// Calculated Variables //tower_height = wall_height + wall_height/3;tower_radius = wall_thickness/2;parapet_height = wall_thickness/4;
tower_height: Takes the wall_height and adds a wall_height value that has been divided by three making the towers a third of the wall height taller than the walls.
tower_radius: sets to half of the wall thickness. This means the full diameter of the tower will be the same as the wall thickness.
parapet height: the height of the little walls at the top of the towers are based on the thickness of the walls.
Using the variables
The original module for the tower looks like this:
module tower(){difference(){ cylinder(6,1.5,1.5, $fn=35); translate([0,0,5.7]) cylinder(2,1.2,1.2, $fn=35);}}Change it to this:module tower(){difference(){difference(){cylinder(tower_height,tower_radius,tower_radius,$fn=35); //Main Tower
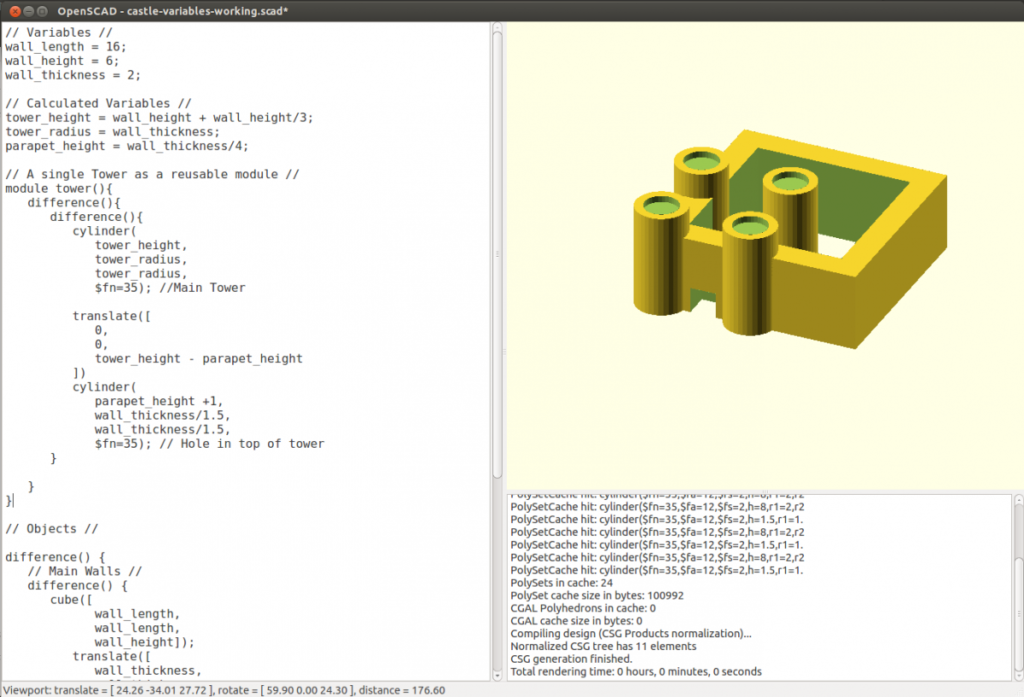
translate([0,0,tower_height – parapet_height])cylinder(parapet_height +1,wall_thickness/1.5,wall_thickness/1.5,$fn=35); // Hole in top of tower}
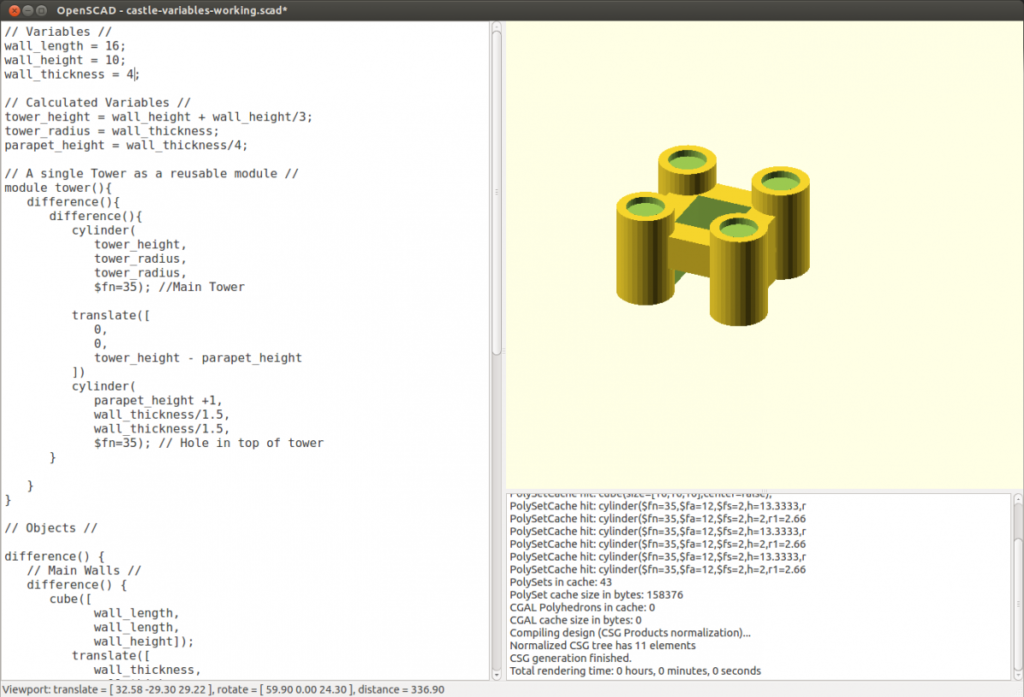
}}Notes:The approach is very similar to that used for the main walls.The main tower cylinder is using the tower_height and tower_radius variables. The small cylinder used to cut the hole for the parapet uses the parapet_height variable and the wall_thickness variable divided by 1.5. You could set up a variable for the parapet wall width to reduce the number of fixed values but because the towers are all managed from a single module it is simple enough to change.Compile (F5) and you should see this:
Positioning the towers
The towers are the correct size now but are not positioned correctly. The translation for each tower is set when it is rendered as an object so we need to set variables down there as well. The original script looks like this:
// Towers //translate([0.5,0.5,0]) tower();translate([7.5,0.5,0]) tower();translate([0.5,7.5,0]) tower();translate([7.5,7.5,0]) tower();Change each tower’s translate to look like this:// Towers //translate([wall_thickness/4,wall_thickness/4,0]) tower();
translate([wall_length – wall_thickness/4,wall_thickness/4,0]) tower();
translate([wall_thickness/4,wall_length – wall_thickness/4,0]) tower();
translate([wall_length – wall_thickness/4,wall_length – wall_thickness/4,0]) tower();Notes:The wall_thickness variable is used and divided by four so that the towers sit just outside the walls at each corner.Depending on the corner the tower sits on the wall_thickness/4 is used by itself or removed from the wall_length. Try changing the different X and Y values from wall_length – wall_thickness/4 to wall_thickness/4 and see what happens.It may also help to put a comment next to each tower to remind you which corner it sits on.Compile (F5) and you should see this:
The Door
The last part of our model to be changed to use the variables is the main door.The original script looks like this:
// The Main Door //translate([3,-1,-.01]) cube([2,3,2]);so change it to look like this:
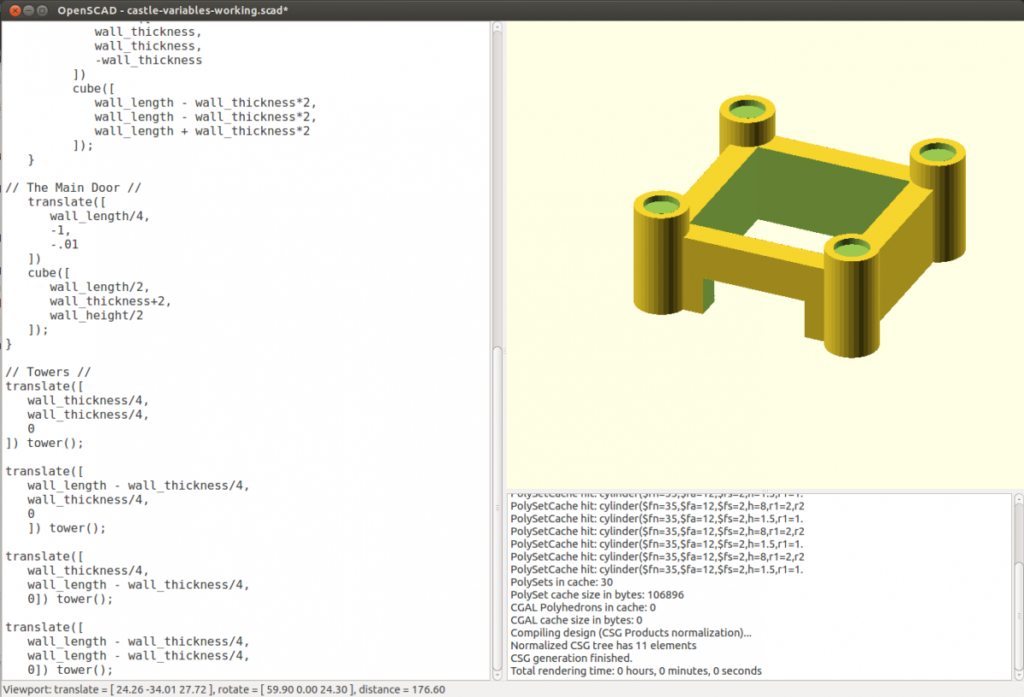
// The Main Door //translate([wall_length/4,-1,-.01])cube([wall_length/2,wall_thickness+2,wall_height/2]);
Notes: The door uses the wall_length and wall_height variables to define it’s placement, width and height.You could also set specific variables for the door to have more control over it.
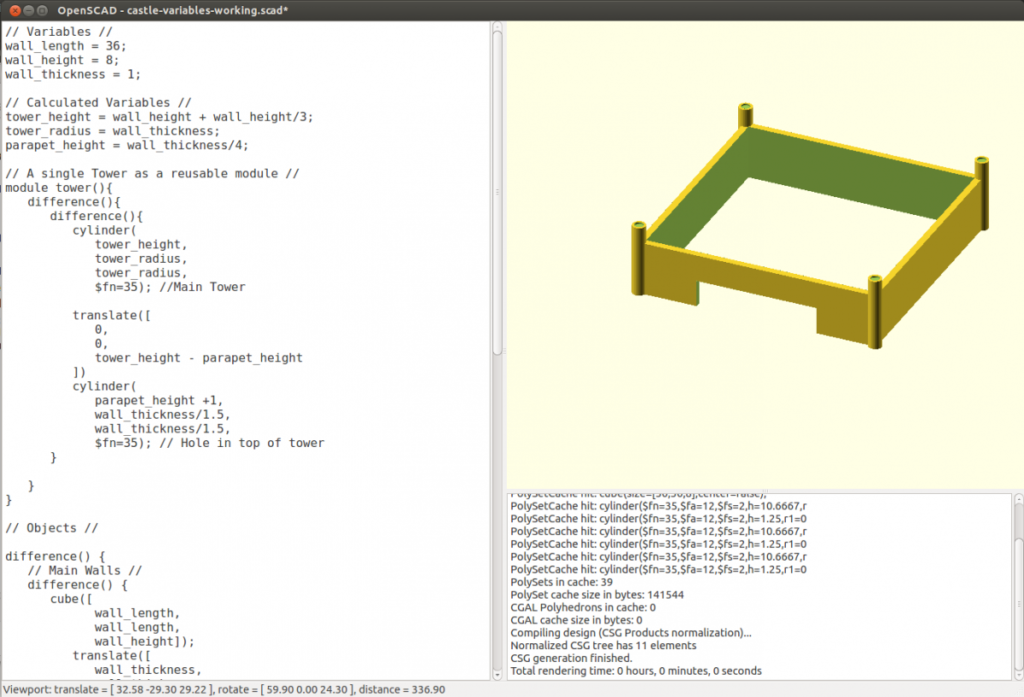
Compile (F5) and you should see this:
Change the variables
Now that everything is based on those 3 set variables try changing the values to change the entire castle model.